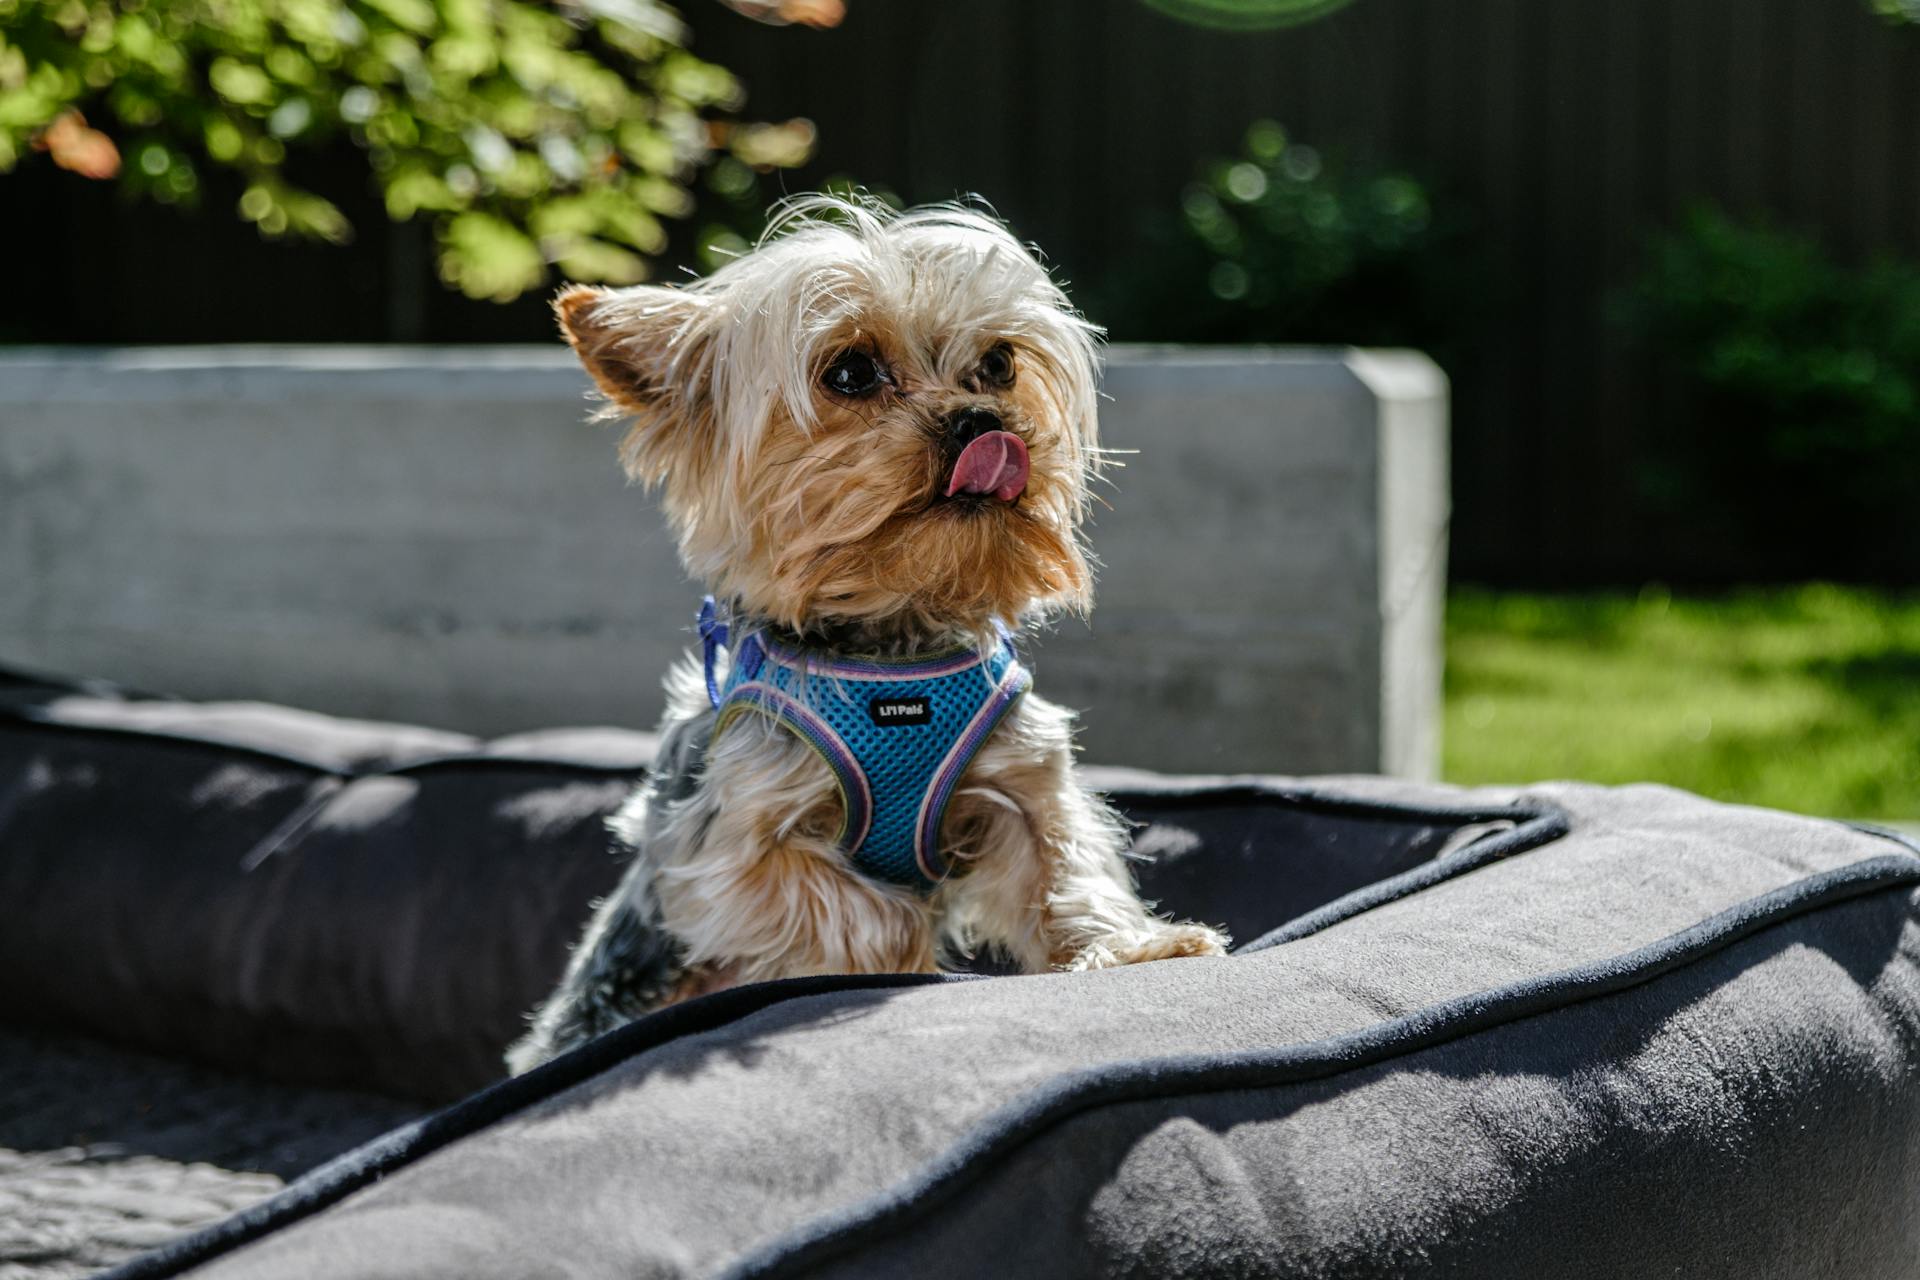
Grooming a Yorkshire Terrier face requires attention to detail and the right techniques. The breed's delicate features and fine coat make it a high-maintenance grooming task.
First, it's essential to brush your Yorkie's face regularly to prevent matting and tangling of their fine hairs. This will help keep their face clean and free of debris.
Yorkshire Terriers have a distinctive "mustache" area above their upper lip, which can be prone to matting if not properly groomed. Regular brushing will help keep this area tidy.
To prevent tear staining, which is a common issue in Yorkies, you can use a damp cloth to gently wipe their face. This will help keep their eyes and face clean.
A unique perspective: White Face Boston Terrier
Preparing Your Yorkie
To get your Yorkie ready for a face trim, spend some time with it before the trim so that you can get it ready for a bit of time sitting still. Play a game it loves or take it for a walk to tire it out a bit.
It's essential to get your Yorkie in a calm mood, as this will make the grooming process much easier. Use treats that your Yorkie loves to get it to respond to your commands.
Put your Yorkie on a non-slip surface at your waist or chest level, as this will allow you to be eye-to-eye with it and see the face clearly. This will also be easier on your body than trying to lean over during the whole cut.
Having your Yorkie on a raised surface will also help prevent any accidents or injuries.
To prepare your Yorkie's face for trimming, comb out the fur around its face, including the neck and the top of the head if that is getting cut. Use a fine-tooth dog comb to gently work out all tangles and remove any debris in your Yorkie's coat.
Here's a step-by-step guide to combing out your Yorkie's fur:
- Start by combing out just the tips of the fur and getting out any big knots you see.
- Then work your way down to the base of the fur with the comb, making sure all knots are gone.
Be gentle when getting out tangles, as you want to keep your Yorkie calm and happy during this preparation so that it will cooperate throughout the cut.
Grooming Techniques
Trimming around the eyes and ears requires precision and care. You'll need to use your straight or thinning dog-grooming scissors to cut the fur between the eyes.
Be very careful not to poke your dog with the scissors, as this area is delicate. Use the very tip of the scissors to cut the fur on both sides of the bridge of the nose.
It's essential to keep the fur in this area short to avoid interfering with your dog's eyes. If you notice hard lines from the scissors after cutting, go back in with your thinning shears to feather it out.
To do this, run your thinning shears along the ridge of fur, keeping the blades parallel to the coat and holding them at your desired depth into the fur.
To trim the fur above the eyes, comb it forward and then grab the line of fur with your fingers. Use your thinning shears to cut across the forehead at the line you've made with your fingers.
Intriguing read: How to Cut Yorkshire Terrier Hair
Exposing the point of each ear involves clipping the surrounding fur very short. Use a #10 guard on your clippers for this step.
Clear an area that is about 1/2 inch (1.3 cm) wide going down each side from the point and onto the front and back of the ear. This will make the point of the ear very visible.
To create a cutting line on the ears, gently fold each ear in half. Use your less-dominant hand to fold over the dog's ear so that the sides of it line up with each other.
This creates a line that starts at the point of the ear and flows down along the chin line. When you let go of the ear, you will have perfect lines on the top and side of the ear.
Here's a step-by-step guide to trimming the ears:
- Fold the ear in half to create a cutting line
- Use your thinning shears to cut along the folded edge of the sides of the ear
- Be very careful not to cut the ears
Featured Images: pexels.com


