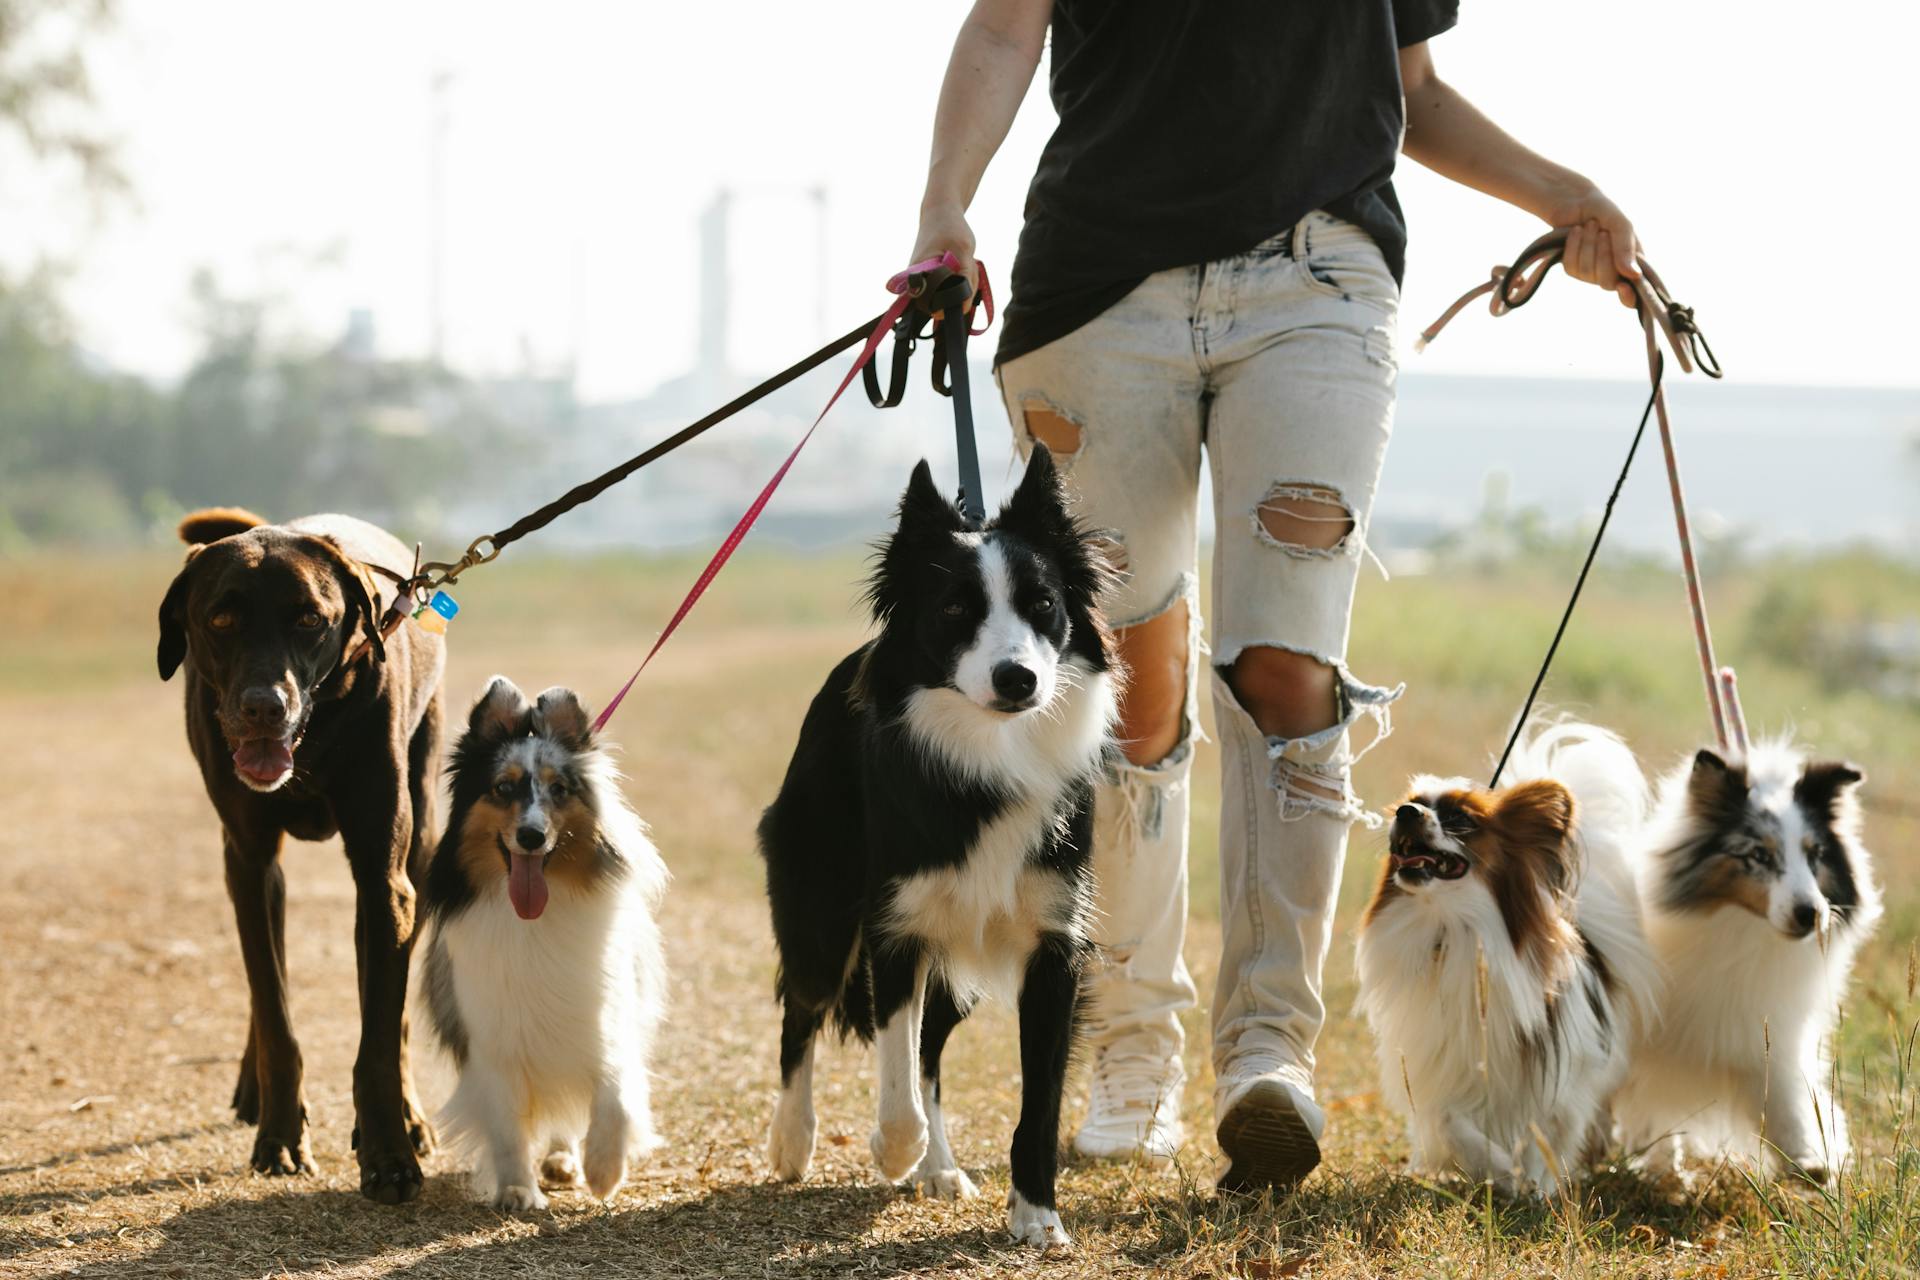
Using a slip lead on a dog can be a bit intimidating at first, but with practice, you'll get the hang of it. According to our guidelines, the ideal length for a slip lead is between 4 to 6 feet.
The purpose of a slip lead is to give you control over your dog without restricting their movement. A slip lead is typically made of nylon or leather and has a metal ring at one end.
To start, you'll want to put the slip lead on your dog's neck, making sure it's not too tight or too loose. The ideal position for the lead is just behind the dog's ears.
With the lead in place, you can start practicing the basic commands, like "come" and "stay."
A Guide to Choosing
Choosing the right slip lead for your dog is crucial for effective training and safe walks. Consider your dog's size and ensure the lead is long enough to provide a comfortable loop around the neck without being too loose or too tight.
Material matters, so think about your dog's activity level and any sensitivities they may have. Leather leads are durable but may require more maintenance.
The thickness of the lead can affect its strength and durability. For larger or stronger dogs, a thicker lead may be more suitable.
When selecting a slip lead, think about your training needs. If you're using it for training purposes, consider one with a stopper or a limited slip design to prevent it from tightening too much.
A comfortable handle is essential, especially when making quick corrections. Look for a lead with a handle that feels good in your hand.
If you walk your dog in low-light conditions, a reflective slip lead or one in a bright color can enhance visibility and safety.
Here's a quick guide to help you choose the right slip lead size based on your dog's weight:
Remember, a sturdy and durable lead is essential, especially if you have an active or strong dog.
How to Use a Slip Lead
Using a slip lead requires some finesse, but don't worry, it's easy to master. To start, you want to place the slip lead loop high on your dog's neck, ideally just behind the ears. This position gives you the most control over your dog's body.
To keep the slip lead in place, secure the position with the stopper. Simply slide the stopper where you want the collar loop to sit, making sure it's tight but still has some wiggle room. If the slip lead keeps sliding down, it's likely because your dog is walking too far ahead of you while pulling.
To avoid this, walk your dog without tension on the leash. This will prevent the slip lead from sliding down and make training much more effective.
On a similar theme: Dog Place Training Mat
Loop Handle
If you plan to go on long walks or expect to use the leash for extended periods, a loop handle might be a worthy feature.
Having a loop handle can provide extra comfort for the dog owner, especially if you're walking your dog for an extended period.
Some slip leashes come with loop handles, and it's essential to consider this feature if you need more control or comfort while walking your dog.
On a similar theme: Walking Dogs
Proper Placement
The slip lead loop should sit as high as possible on your dog's neck, ideally right at the top, behind the ears. This position is crucial for successful slip leash dog training.
A common problem is the leash sliding down on the dog's neck, which can be prevented by keeping the slip leash short in your hand and using a gentle tug to refocus your dog's attention.
To keep the slip lead in place, secure the position with the stopper, making sure it's tight but still has enough wiggle room to slide a finger or two underneath.
If the slip lead keeps sliding down, it's likely because your dog is walking too far ahead of you while pulling.
For your interest: Dog Lead vs Leash
Direction
When walking your dog, the direction of the slip lead is crucial. To put a slip lead on your dog correctly, you need to consider whether you're walking on the left or right side.
If you're walking your dog on the left, hold the slip lead so that it forms the letter P when sliding it on. This is the correct way to secure the lead.
If you're walking your dog on the right, hold the slip lead so that it forms an inverted letter P or a 9 when sliding it on. This ensures a safe and comfortable fit for your dog.
Preventing Problems with Correct Use
To prevent problems with using a slip leash, it's essential to keep it above the trachea, higher up just behind the ears. This is because the problem with the leash sliding down is often due to the dog being allowed to walk in front and pull from the get-go.
To avoid this, use a slip leash correctly by lifting it slightly, straight up. This will help the dog feel the pressure and lift their head. Keeping the leash short in your hand will also help matters.
Discover more: Dog Training Lead Leash
For younger dogs without training, or bigger breeds, owners may consider starting them in secure harnesses. This is because they may not be able to handle the pressure of a slip leash.
A slip leash is quick to put on and take off, making it a convenient option for dog owners. Unlike traditional collars and leashes, it can be slipped on and off within seconds.
To use a slip leash safely, ensure the leash is of appropriate length and thickness for your dog's size and strength. Place the loop high up on your dog's neck, just behind the ears, for maximum control and minimum discomfort.
Here are some scenarios where a slip leash is particularly useful:
- Post-leash training success: Implement a slip lead after your dog has successfully mastered walking on a leash and you're focusing on refining their walking behavior.
- Training commencement: Use a slip lead when signaling the start of a training session, setting the tone for attentive and controlled behavior.
- Transportation needs: Employ a slip lead when transporting your dog to or from different locations, ensuring secure and manageable travel experiences.
- Efficient loading and unloading: Facilitate smooth loading and unloading of dogs from cars or other transport vehicles with the help of a slip lead.
Remember, a slip leash is meant to help build your dog's connection to you, rather than to teach obedience. Consistency is key when training with a slip leash, so be sure to reinforce good behavior every time.
Tips and Advice
Prep work is key before transitioning to a slip lead, so ensure your dog is proficient in walking on a leash first.
To verify the slide is securely locked, always confirm it before walking with your dog. This is a crucial step to avoid any accidents.
Establish a practice routine using a stuffed animal to familiarize your dog with slip lead dynamics before actual implementation. This will help your dog get accustomed to the feel of the slip lead.
Here are some key things to keep in mind when using a slip lead:
Pro Tips
As you start working with a slip lead, it's essential to establish a solid foundation for success. Ensure your dog is proficient in walking on a leash before transitioning to a slip lead.
To guarantee a smooth transition, confirm that the slide is securely locked before walking with your dog. This simple step can make all the difference in preventing accidents.
A practice routine is crucial for your dog to get accustomed to the slip lead dynamics. Use a stuffed animal to simulate the experience and help your dog feel more comfortable.
To prevent choking and enhance control, keep the slip lead loop high up on the neck, close to the dog's head. This is a simple yet effective way to ensure your dog's safety.
When working with dogs, it's essential to be prepared to move quickly. Stand or squat to enable quick movement if necessary, which can help prevent accidents.
When using a slip lead with a collar, ensure the collar is positioned to not interfere with the slip lead's effectiveness. This might require some experimentation to get it just right.
In case of pulling-induced tightening around the throat, promptly halt and make necessary adjustments for your dog's comfort and safety. This is a critical step in preventing injuries and ensuring a positive experience for both you and your dog.
Here's a quick reference guide to help you remember the key points:
- Prep Work: Ensure your dog is proficient in walking on a leash
- Slider Verification: Confirm the slide is securely locked
- Practice Routine: Use a stuffed animal to familiarize your dog with slip lead dynamics
- Proper Loop Placement: Keep the slip lead loop high up on the neck
- Body Positioning: Stand or squat when working with dogs
- CollarCompatibility: Position the collar to not interfere with the slip lead's effectiveness
- Adjustment for Pulling: Halt and make necessary adjustments if your dog starts pulling
Final Thoughts

A slip leash can be a valuable tool for any dog owner, offering a range of benefits that can enhance your walks and training sessions.
It's essential to remember that a slip leash is not just a piece of equipment, but an extension of the bond between you and your dog. Proper usage and understanding of your dog's behavior and needs are crucial for its success.
Whether you're training a puppy or managing an adult dog, a slip leash can be a game-changer. With the right approach, you can create enjoyable and stress-free experiences for both you and your dog.
Always prioritize your dog's safety and comfort when using a slip leash. This means being aware of your dog's behavior and needs, and taking steps to ensure they're happy and secure.
Consulting professionals when in doubt is a great way to get the most out of a slip leash. They can provide valuable guidance and help you tailor your approach to your dog's unique needs.
Right or Left?
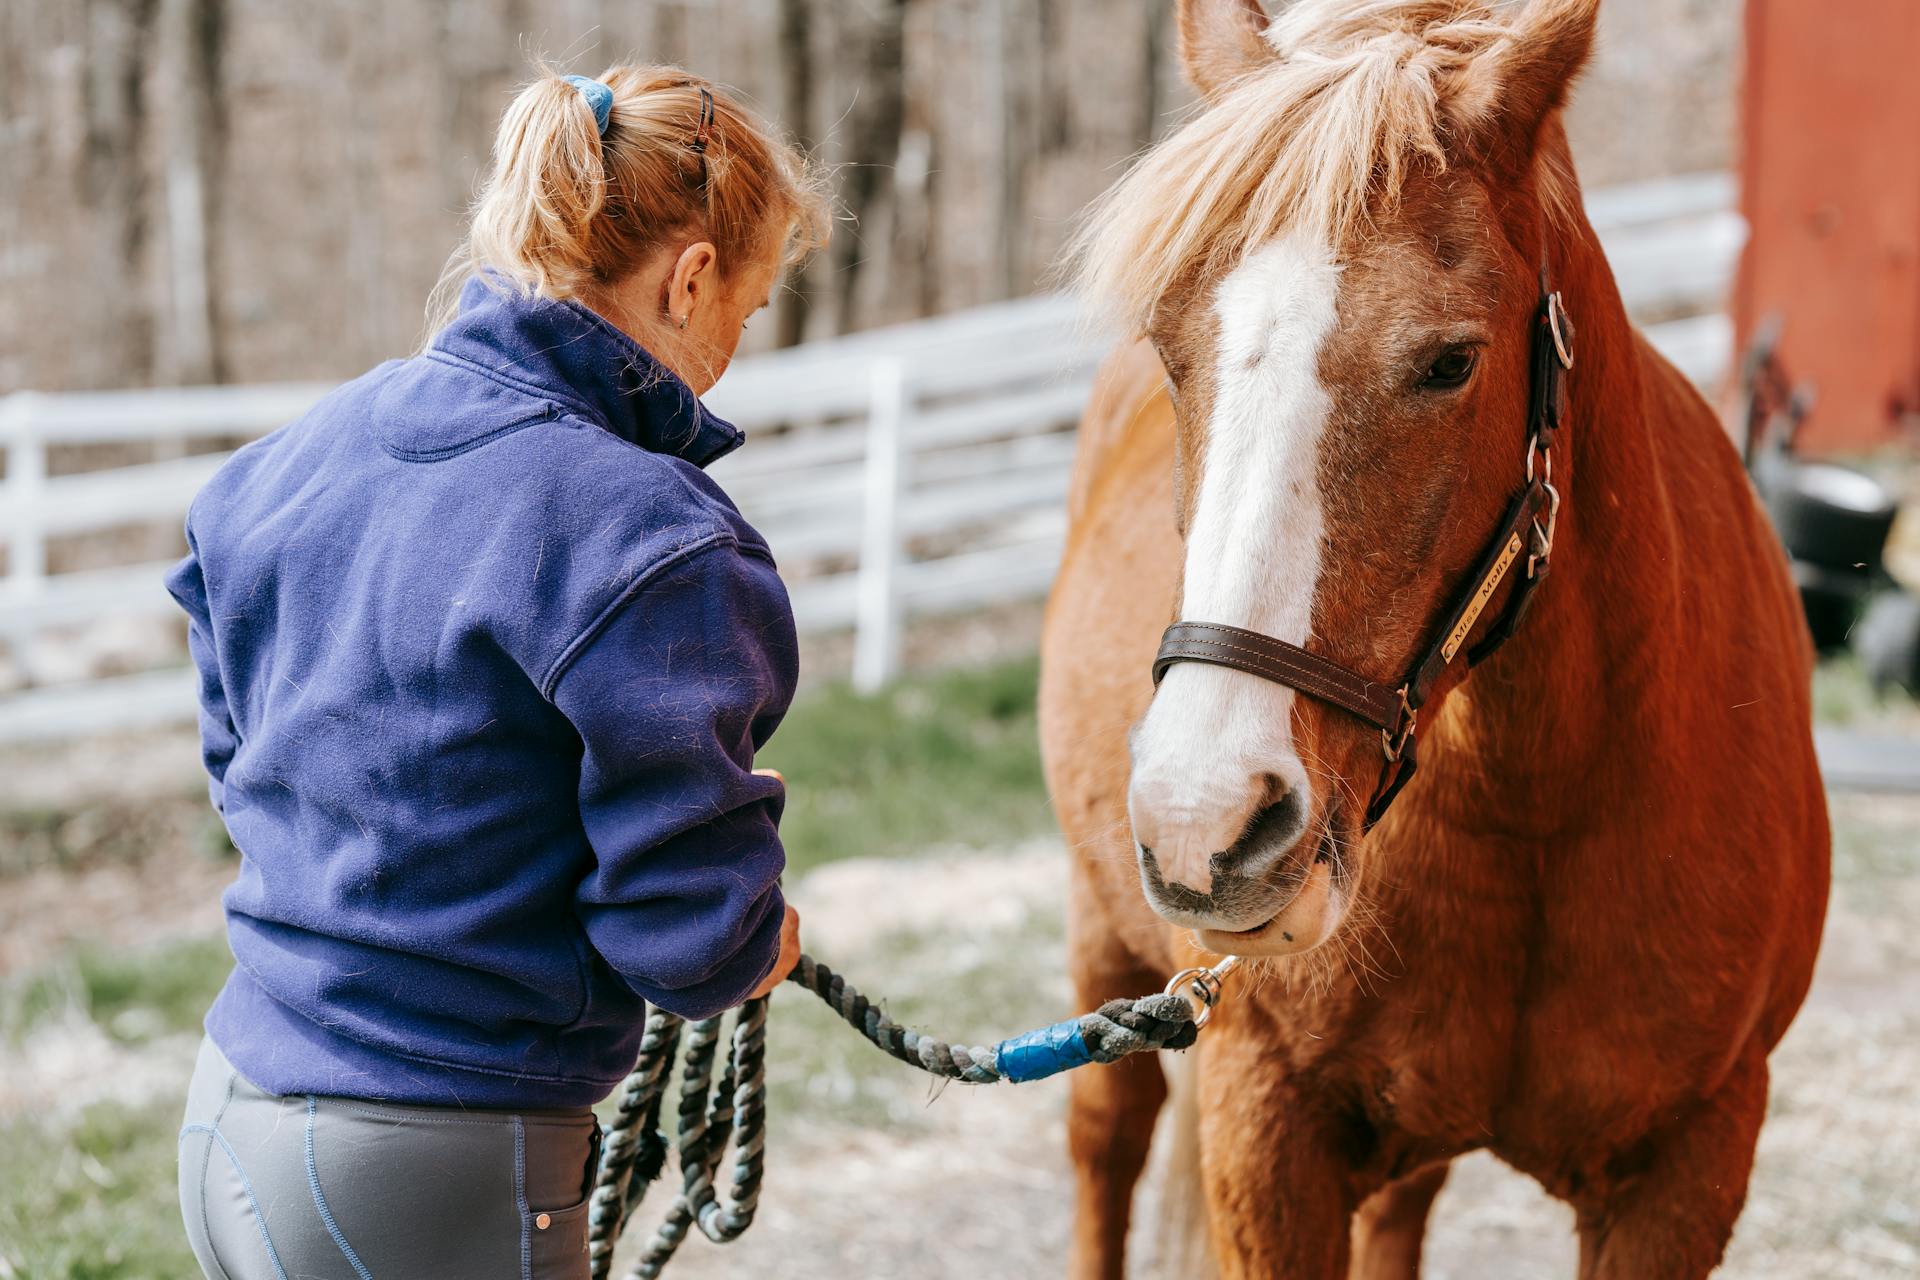
There is a right side or left side of the slip leash, and it's essential to put it on correctly to ensure a comfortable and safe walk for your dog.
You want to make the "long side" of the leash, or the part that goes through the hoop, come over the top of the dog's neck to the side you are on.
Frequently Asked Questions
Where should a slip lead sit on a dog?
A slip lead should sit at the top of the dog's neck, just behind the ears. This placement ensures a comfortable and secure fit for the dog.
What age should you use a slip lead on a dog?
You can start using a slip lead on a dog from 8 weeks old, ideally as soon as they come home. Introducing a slip lead early on can help with training and establish good behavior.
What is the purpose of a slip leash?
A slip leash provides quick and easy control over your dog, ideal for situations where they may become overstimulated. It allows for rapid on and off access, making it a convenient option for dog owners.
Sources
- https://alexliggett.com/how-to-use-a-slip-leash/
- https://lepeto.com/blogs/posts/how-to-use-a-slip-lead
- https://mightypaw.com/blogs/news/how-to-use-a-slip-lead-to-stop-pulling
- https://www.upstatecanine.com/blog/the-comprehensive-guide-to-using-a-slip-leash-for-dogs/
- https://auburndirect.com/how-to-use-a-slip-leash-correctly/
Featured Images: pexels.com
