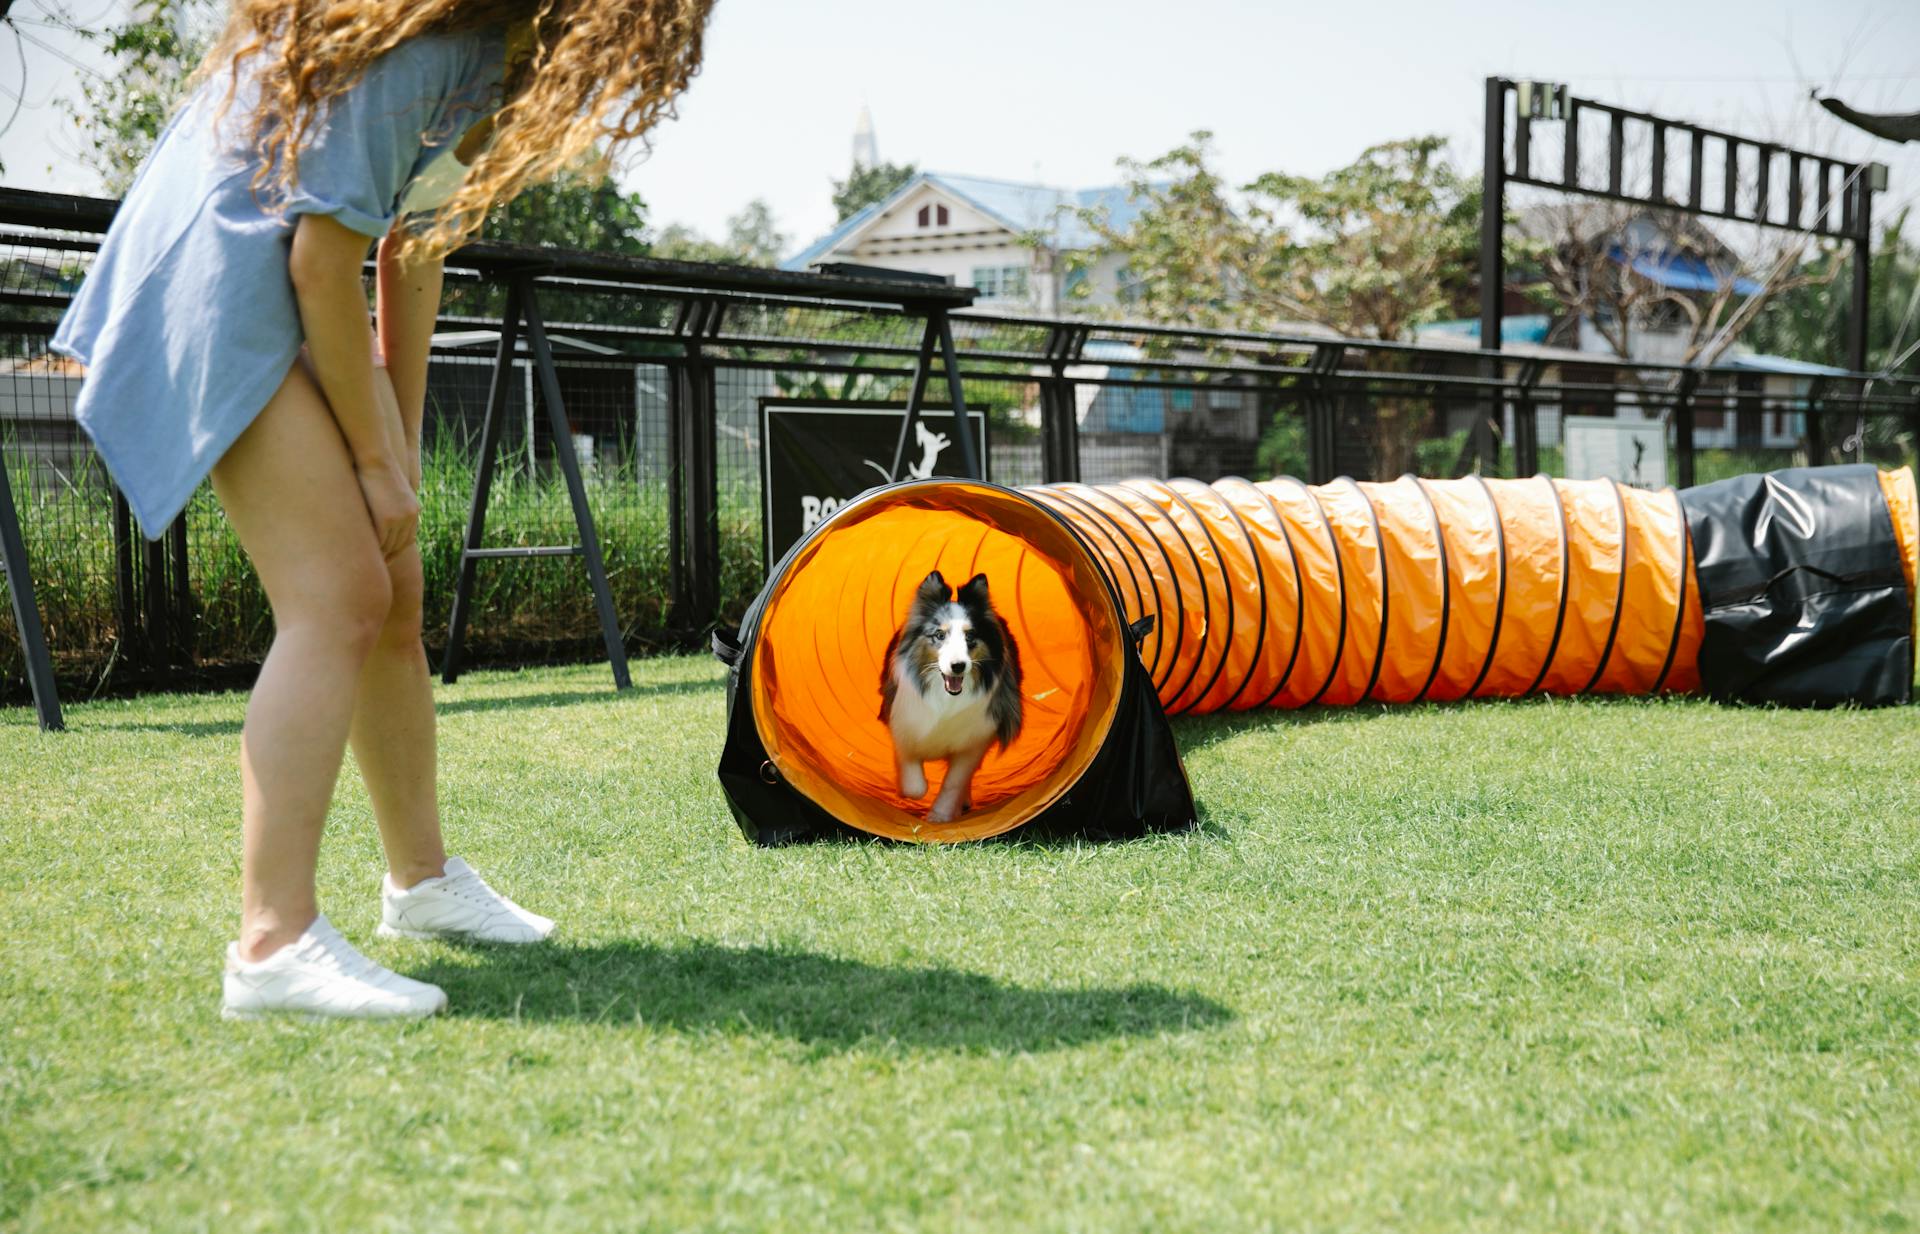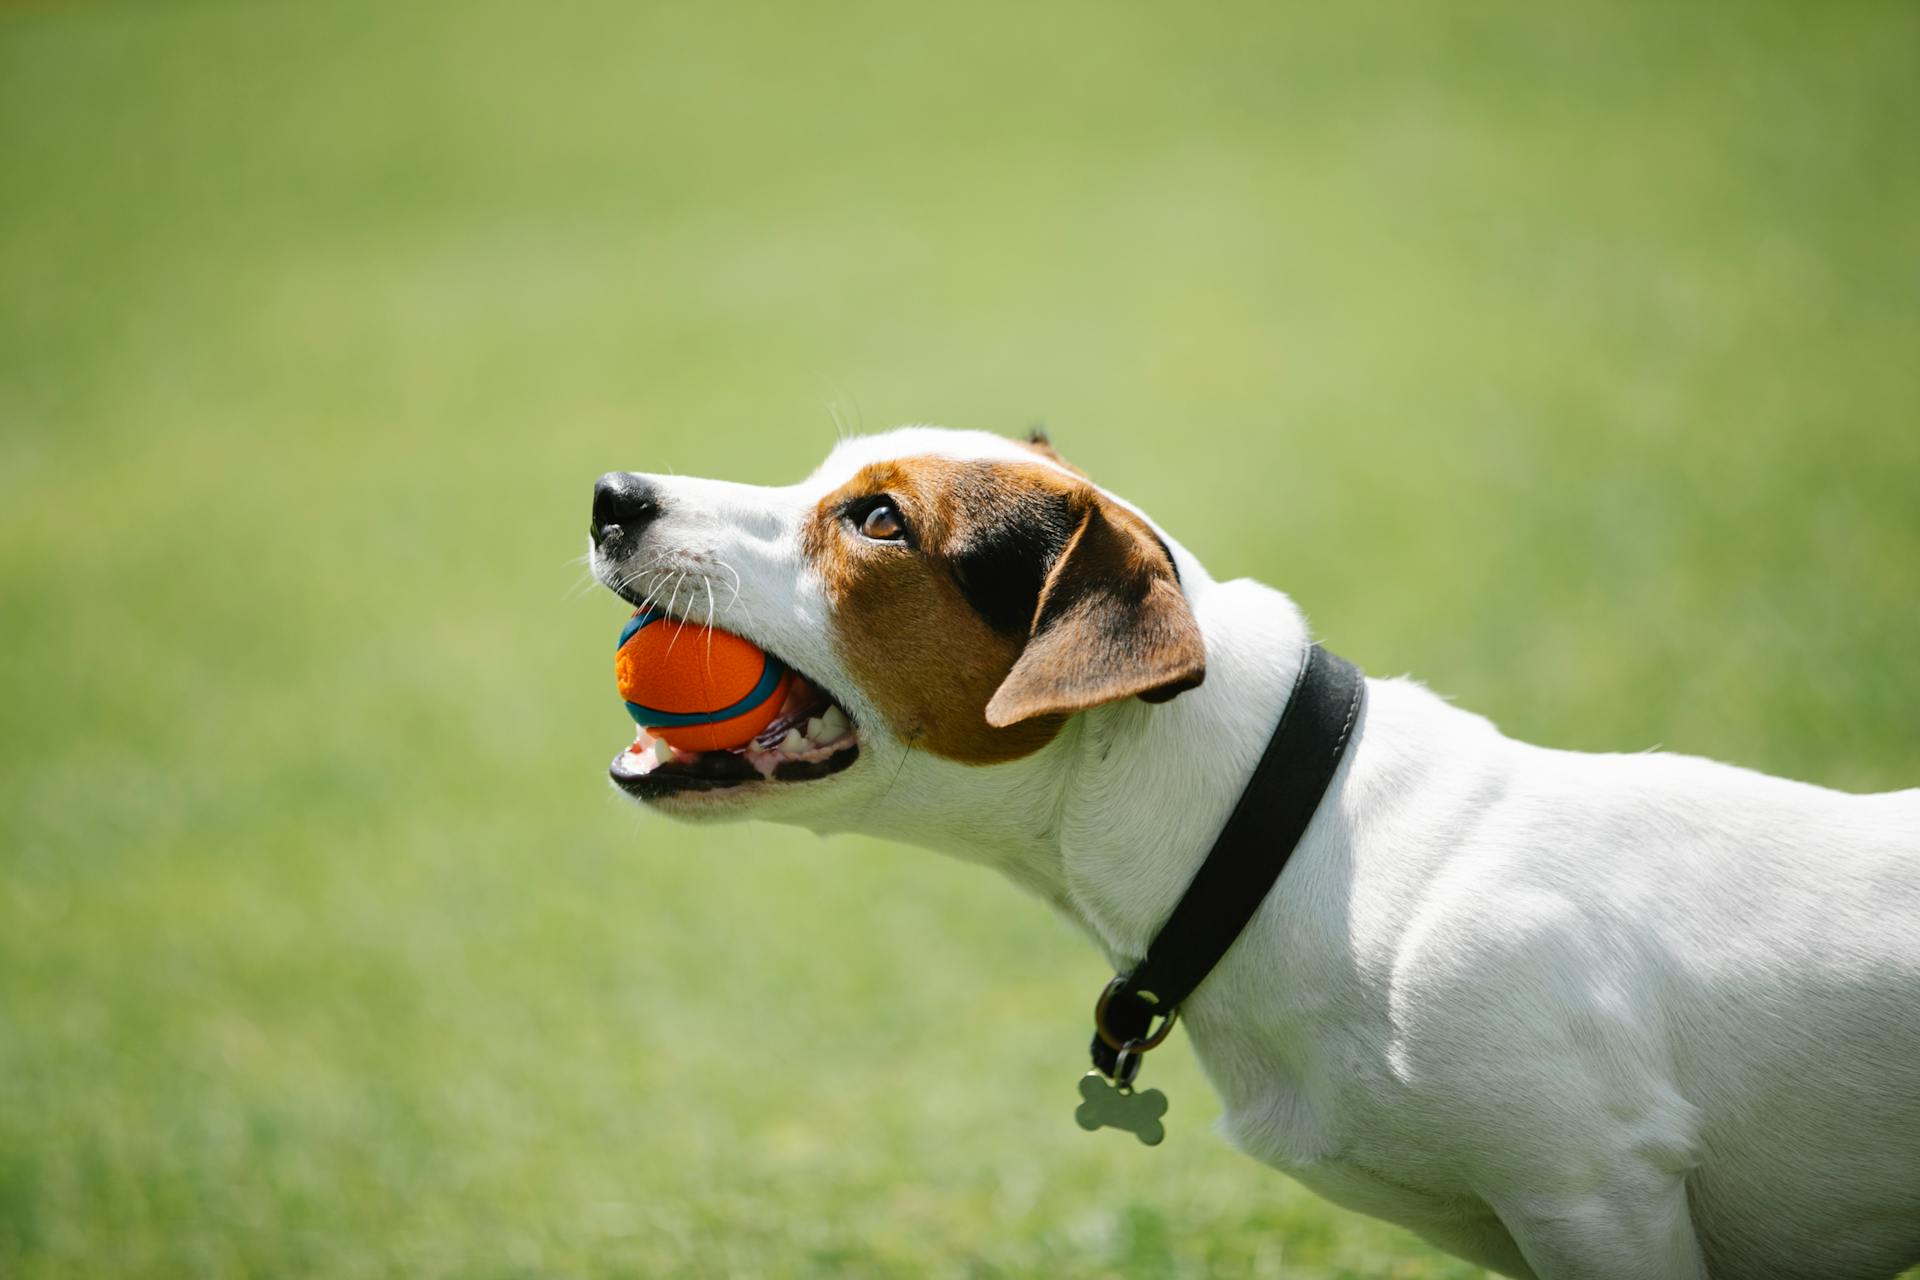
The Patpet Dog Training Collar is a versatile tool for training and safety. Its adjustable collar fits dogs of various sizes.
To ensure effective training, it's essential to understand the different modes available on the collar. There are three modes: beep, vibration, and shock.
The beep mode is a gentle reminder for your dog to behave, while the vibration mode is more intense and suitable for dogs that don't respond to beeps. The shock mode should only be used as a last resort and with caution.
The collar's adjustable sensitivity and intensity settings allow you to tailor the training to your dog's needs. This customization is crucial for achieving the best results.
A fresh viewpoint: Training a Dog with a Vibrating Collar
Important Information
Before you start using your patpet dog training collar, there are a few important things to keep in mind. This product is not for use with aggressive dogs, so if your furry friend has a tendency to get feisty, it's best to explore other training options.
Safety during on-leash training is crucial, so make sure your dog is wearing a strong leash that's long enough for them to move around, but not so long that they can get into trouble.
Your dog's comfort and safety are top priorities. To avoid skin damage, avoid leaving the collar on for more than 8 hours a day and reposition it every 1-2 hours when possible.
Here are some specific guidelines to follow:
- Avoid leaving the collar on the dog for more than 8 hours per day.
- When possible reposition the collar on the pet’s neck every 1-2 hours.
- Never connect a lead to the electronic collar, it will cause excessive pressure on the contacts.
- If a rash or sore is found, discontinue use of the collar until the skin has healed.
- If the condition persists beyond 48 hours, see your veterinarian.
Remember, this product is only for use with healthy dogs over 6 months old, so make sure your furry friend meets that criteria before getting started. Keep in mind that this product is not a toy, so keep it out of reach of curious kids.
Setup and Assembly
To set up your patpet dog training collar, start by assembling the receiver. This involves installing conductive silicone caps onto the contact points to make it softer for your dog's skin. If your dog has a thicker coat, you'll also need to install a contact spring sheet.
Before you begin using the product, you'll need to charge the remote and receiver collar. This is a straightforward process that will get you ready to start training your dog. Once charged, turn on the remote and receiver collar, and perform a function test to ensure all buttons are working properly.
To pair the remote and receiver collar, simply follow the steps outlined in the setup process. This will ensure they're connected and ready to use.
Assemble
Assemble the device according to the manufacturer's instructions for a smooth and safe operation.
First, install the conductive silicone caps onto the contact points to make them softer and more comfortable for your dog's skin. This is especially important if your dog has a thick coat, as it will help prevent irritation.
To ensure proper installation, please follow the manufacturer's guidelines for attaching the contact spring sheet for dogs with thicker coats.
It's essential to note that this device complies with part 15 of the FCC rules, and operation is subject to two conditions.
Setting Up Product

Setting up your product is a breeze. First, you'll need to charge the Remote and the Receiver Collar.
To do this, plug in the charging cables and let them charge for a while. Make sure they're fully charged before moving on to the next step.
Now it's time to prepare the Remote and turn it on. This will get you ready to start testing and pairing the product.
Next, prepare the Receiver Collar and turn it on as well. This is an important step to ensure everything is working properly.
Before putting the Receiver Collar on your dog, it's a good idea to test the function of the buttons. This will help you get a feel for how the product works.
If you want to test the Shock function, you can use the Test Lamp to see how it works. This is a good way to make sure everything is working correctly.
If you've lost the code or need to pair a second collar, you can pair the Remote and the Receiver Collar by following the manufacturer's instructions.
For more insights, see: Dog Good Citizen Training
Fitting and Adjusting
To ensure a proper fit, the contact points must have direct contact with the dog's neck skin. The collar should be snug, but not too tight.
Check the tightness by inserting one finger snugly between the collar and neck. If you can fit a finger, the collar is properly fitted.
Do not shave the pet's neck as this may increase the risk of skin irritation. This is an important consideration to keep in mind.
The collar should not be worn for more than 12 hours per day. Wearing it for longer periods may cause skin irritation.
Here are some key guidelines to keep in mind:
- Insert one finger between the collar and neck to check the fit.
- Do not shave the pet's neck to avoid skin irritation.
- Limit collar wear to 12 hours per day.
Training and Tips
To correct your dog's behavior, such as barking, you'll want to follow a specific training process. Put a separate non-metallic collar on your dog's neck above the receiver collar, and attach an 8-10 feet leash.
Be sure the extra collar doesn't put pressure on the contact points. Hold the leash and the remote, and choose your pet's recognition static level. Press the stimulation button as soon as your pet starts barking, and give the command "No" or "No barking."
A different take: Dog Training to Stop Barking
Release the stimulation button immediately once your dog stops barking and praise it. If your pet ignores the stimulation, increase the Intensity Level by 1 to 3. Practice this training in several different scenes.
Here are some common types of dog training collars:
- Vibrate Dog Training Shock Collars
- Spray Dog Training Collars
- No Shock Training Collars
Troubleshooting Guide
If your pet's device isn't responding to button presses, check the Receiver Collar's power source. Make sure it's properly charged or replace the batteries if necessary.
If your Receiver Collar won't turn on, it might be a sign that the batteries are dead or the device is faulty. Check the user manual for troubleshooting steps.
In some cases, the Receiver Collar might not be responding to the Remote because of interference from other devices. Try moving the Remote and Receiver Collar away from other electronic devices to see if that resolves the issue.
Here are some common issues and their possible solutions:
Training Tips
To correct your dog's bad behavior, such as barking, you'll need to follow a few simple steps. First, put a separate non-metallic collar on your dog's neck above the receiver collar, and attach an 8-10 feet leash. Be sure the extra collar doesn't put pressure on the contact points.
Hold the leash and the remote, and choose your pet's recognition static level. As soon as your pet is barking, press the stimulation button and give the command "No" or "No barking." Release the stimulation button immediately once your dog stops barking and praise it.
If your pet ignores the stimulation, increase the Intensity Level by 1 to 3. It's essential to practice this training in several different scenes to reinforce what your dog has learned.
Dog Training
To train your dog effectively, it's essential to start with the basics. For correcting bad behavior like barking, follow these steps: put a separate non-metallic collar on your dog's neck above the receiver collar, attach an 8-10 feet leash, and hold the leash and the remote.
Choose your pet's recognition static level, and as soon as your dog starts barking, press the stimulation button and give a command like "No" or "No barking." Release the stimulation button immediately once your dog stops barking and praise it.
If your pet ignores the stimulation, increase the intensity level by 1 to 3. Practice this training in several different scenes to help your dog generalize the behavior.
To find the best static level for your dog, start at the lowest level and gradually increase the stimulation levels until your pet reliably responds to the stimulation. If your dog continues showing no response at level 6, check the fit of the receiver collar and ensure the contact points are in contact with the dog's skin.
The type of contact points to use depends on your dog's fur type: long contact points and conductive silicones for thick fur, and short contact points and conductive silicones for thin fur. Always ensure the receiver collar is fitted correctly, with a finger's width between the collar and the dog's neck.
Here's a quick summary of the key steps to follow:
Remember, the goal of training is to help your dog, not to harm them. Always start at the lowest level and gradually increase the stimulation levels until your pet responds reliably.
Do Vets Recommend?
Vets are divided on the use of shock collars, with some believing they can be an effective tool in certain situations.
Some owners find shock collars to be a useful last resort for training their dogs.
In the dog loving community, shock collars are a contentious issue.
Proponents of shock collars argue that the jolt they provide is not painful, but rather a gentle correction.
Vets recommend trying positive punishment and reward methods first before considering a shock collar.
Shock collars should never be used lightly, as they can cause additional anxiety in dogs.
Some dogs may not learn through positive reinforcement, making shock collars an option for their owners.
Suggestion: Positive Reinforcement Dog Training
Operating the Device
To turn on the receiver collar, simply click the power button, and you'll know it's working because the green LED flashes once and the receiver collar vibrates once.
The green LED light will also be on, and it will flash every 4 seconds in normal mode, indicating the receiver collar is on and ready to receive a signal from the remote.
To turn off the receiver collar, press and hold the button for 2 seconds, and you'll see the red LED flash twice and the receiver collar vibrate twice.
Check this out: Dog Buttons Training
Turn On

To turn on the Receiver Collar, click the power button to activate it. The Receiver Collar will vibrate once and the green LED light will flash once.
You can also press the On/Off Button to turn it on. The green LED light will be on, indicating that the Receiver Collar is ready to receive a signal from the Remote.
In normal mode, the green LED light will flash every 4 seconds, so you'll know it's on and working properly.
Here's a quick summary of the steps to turn on the Receiver Collar:
- Click the power button or press the On/Off Button to turn it on.
- The green LED light will be on, and it will flash every 4 seconds.
Charging the Remote
First, make sure you're using the right charger, a DC 5V 500-800mA charger, to avoid damaging the remote.
To charge the remote, simply plug it in and let it charge for 4 hours for the initial charge, or 2-3 hours for subsequent charges.
The remote has a battery display that will stop cycling and appear full when it's fully charged, and you'll also see the red LED turn green.
Replace the rubber cover on the remote when it's fully charged to keep it protected.
Don't overcharge the remote, as this can shorten its battery life. Only charge it when the batteries are low.
To increase the battery life, turn off the remote when you're not using it.
Readers also liked: When to Start Dog Obedience Training
Pairing and Connection
To pair the remote with the receiver collar, you'll need to follow a few simple steps. You can select the dog you want to train by switching the channel on the remote to "Dog 1" or "Dog 2".
First, make sure the receiver collar is turned off, then press and hold the power button for 3 seconds until the red and green lights flash alternately. This is a crucial step to ensure a successful pairing.
Next, press and hold the Beep and Vibration buttons of the remote at the same time to complete the pairing process. The receiver collar will beep three times and the green light will flash three times, indicating a successful pairing.
If you have multiple dogs, you can pair the remote with up to two receiver collars. To do this, simply follow the same steps as above, switching the channel on the remote to "Dog 2" and pairing the second receiver collar.
See what others are reading: Dog Training Steps
Here are the steps to pair the remote and receiver collar in a concise format:
- Switch the remote channel to "Dog 1" or "Dog 2".
- Turn off the receiver collar and press and hold the power button for 3 seconds.
- Press and hold the Beep and Vibration buttons of the remote at the same time.
- Pairing successful, the receiver collar beeps 3 times and the green light flashes 3 times.
Remember to always follow the correct steps to ensure a successful pairing and a safe training experience for your dog.
Static and Shock Settings
To find the best static level for your dog, start at the lowest level and work your way up. This will help you determine the exact level that works best for your pet.
The process is straightforward: press the static button at each level to observe your dog's reaction. Gradually increase the stimulation levels until your pet reliably responds to the stimulation.
There are 6 levels to try, and if your dog doesn't respond at Level 6, check the fit of the receiver collar. If your dog has long or thick hair, you may need to install a contact spring sheet or trim the hair around the contact points.
If the contact points aren't in contact with your dog's skin, there will be no static stimulation. This is a crucial detail to keep in mind when adjusting the settings.
Here are the steps to follow:
- Start at Level 1 and press the static button.
- Gradually increase the stimulation levels until your pet responds.
- Check the fit of the receiver collar and adjust as needed.
Frequently Asked Questions
How to program patpet dog training collar?
To program a PetPet dog training collar, press and hold the remote's tone and vibrate button simultaneously until the green light flashes. This will initiate pairing and allow you to test the function buttons.
Why is my Patpet collar shock not working?
Check if the batteries in your Patpet collar and remote are fully charged, as a dead battery is the most common reason for a non-working collar. If the indicator lights are dim or not lit, replace the batteries to get your collar working again
How do I know when my Patpet collar is fully charged?
Check the red LED on the receiver collar, which will turn green when fully charged. The remote's battery display will also stop cycling and show a full charge indicator.
Sources
- https://manuals.plus/patpet/p-collar-356-dog-training-collar-manual
- https://www.manualslib.com/manual/3140077/Patpet-P-Collar-360.html
- https://wholesale.patpet.com/how-to-use-shock-collar/
- https://www.manualslib.com/manual/2219061/Patpet-P-Collar-301.html
- https://device.report/manuals/patpet-320-dog-training-collar-user-manual
Featured Images: pexels.com


